Caulking might not sound like the most thrilling topic, but it’s the unsung hero of home improvement. Think of it as the superhero your walls didn’t know they needed. With a trusty tube of caulk in hand, anyone can tackle leaks, cracks, and those pesky drafts that sneak in like unwanted relatives during the holidays.
Understanding Caulking
Caulking plays a crucial role in home maintenance. It effectively seals gaps and cracks, preventing drafts and moisture intrusion.
What Is Caulking?
Caulking refers to a flexible material used for sealing joints or seams. This material fills gaps around windows, doors, and other surfaces, enhancing energy efficiency. It also prevents water damage by blocking moisture entry. Applying caulk properly ensures longevity and durability, making it a fundamental component of home improvement.
Types of Caulk Available
Numerous caulking types exist to suit various applications. Acrylic caulk works well for indoor projects, providing easy paintability. Silicone caulk offers superior water resistance, ideal for kitchens and bathrooms. Polyurethane caulk adheres strongly to materials like wood and metal, making it perfect for exterior use. Latex caulk, often used for general repairs, combines ease of use and effective sealing. Choosing the right type ensures optimal protection and performance in specific environments.
Preparing for Caulking
Preparation sets the stage for effective caulking. Gathering the right tools and materials ensures a smooth process and optimal results.
Tools and Materials Needed
Caulk gun forms the primary tool for applying caulk. A utility knife assists in cutting the tip of the caulk tube. Painters tape provides clean lines by masking areas, preventing excess caulk from spreading. Caulk specifically matches the project’s requirements, such as silicone for flexibility or acrylic for paintability. Cleaning rags help tidy any messes that occur during application. Finally, a putty knife proves useful for smoothing the caulk line to achieve a professional finish.
Surface Preparation Techniques
Starting with cleaning surfaces involves removing dust, dirt, and old caulk. A scraper efficiently eliminates any debris or peeling materials. Next, drying surfaces ensures proper adhesion, as moisture can weaken the bond. For best results, sanding the area smooths any rough edges, enhancing the caulk’s grip. Using a primer on porous materials can also improve adhesion. Finally, applying painters tape around the edges protects adjacent surfaces from smudges, leading to a neater application.
Application Techniques
Applying caulk correctly requires attention to detail. Following proper techniques ensures the best results.
How to Apply Caulk Effectively
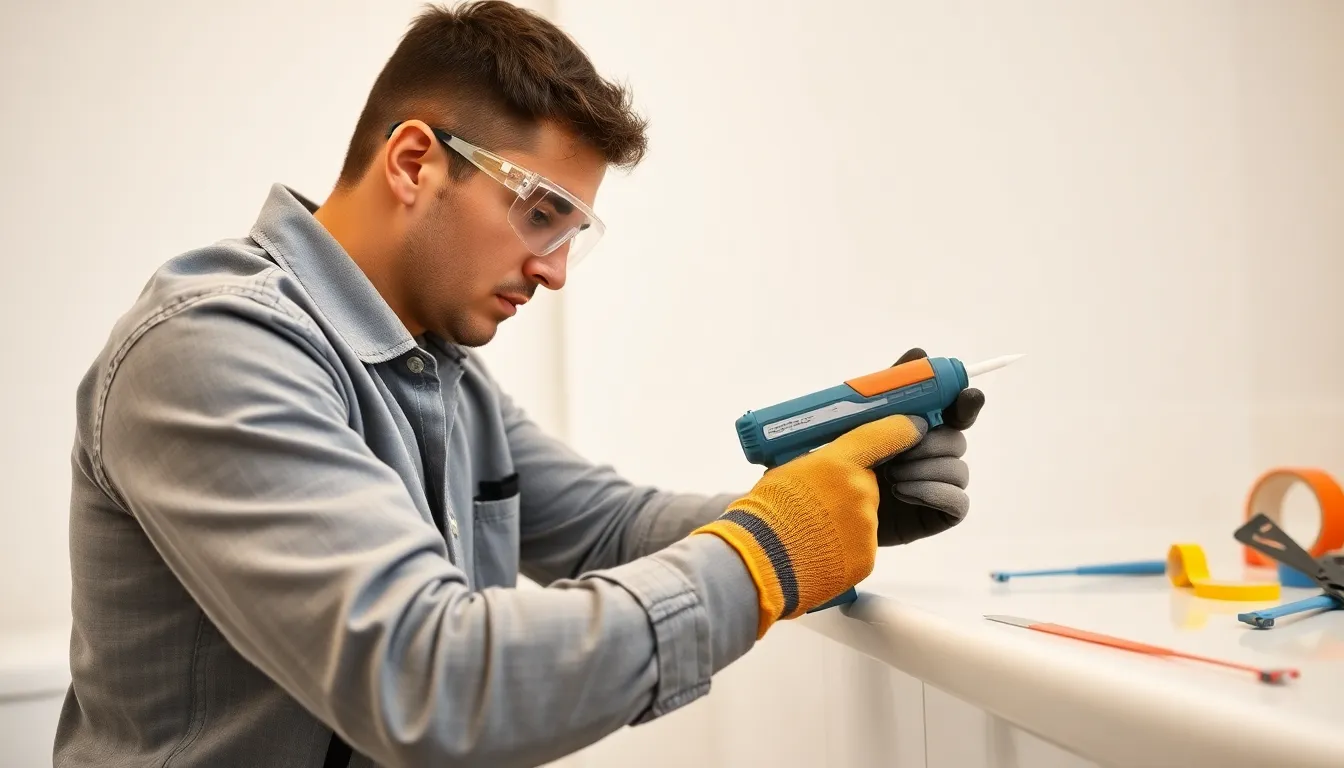
Start by cutting the tip of the caulk tube at a 45-degree angle. Choose the size of the opening based on the gap being filled. Insert the tube into the caulk gun and apply gentle pressure. Guide the nozzle along the joint, keeping a consistent speed, and fill the gap without overapplying. Smooth the bead with a wet finger or a caulking tool for a professional finish. Allow adequate drying time as specified by the manufacturer for optimal adhesion.
Common Mistakes to Avoid
Forgetting to clean surfaces often leads to poor adhesion. Skipping the application of painters tape can result in messy lines. Using the wrong type of caulk may compromise effectiveness in specific environments. Overloading the joint with caulk creates excess that can peel away over time. Ignoring proper drying times affects the seal and durability. Observing these mistakes helps achieve a lasting and polished caulking project.
Maintenance and Inspection
Maintaining caulk’s effectiveness ensures the longevity of a home. Regular inspections for caulk integrity help identify issues before they worsen.
Regular Checks for Caulk Integrity
Inspect areas around windows, doors, and baseboards for signs of wear. Look for cracks, gaps, or discoloration in the caulk. Touching the caulk can reveal its flexibility; if it’s hard or crumbly, it needs attention. Check both interiors and exteriors, as moisture can weaken caulk. Schedule inspections every six to twelve months to maintain optimal performance.
Replacing Old Caulk
Old caulk may no longer provide adequate sealing. Start by removing the old caulk using a utility knife or caulk removal tool. Clean the surface thoroughly with a suitable cleaner to ensure good adhesion for the new caulk. After the surface dries, apply fresh caulk using proper techniques. Choosing the correct caulk type for specific environments enhances durability and protects against moisture and drafts. Regularly replacing worn-out caulk guarantees sustained energy efficiency and comfort in the home.
Effective caulking is vital for maintaining a comfortable and energy-efficient home. By selecting the right type of caulk and preparing surfaces properly, homeowners can prevent leaks and drafts that lead to costly repairs. Regular inspections and timely replacements of worn-out caulk not only enhance a home’s longevity but also improve its overall appearance. With the right tools and techniques in hand, anyone can achieve professional-looking results. Prioritizing caulking as part of home maintenance ensures a safer and more enjoyable living environment.